/
Rixxo Dynamic Banners
Rixxo Dynamic Banners
By Former user (Deleted)
Jul 26, 2019
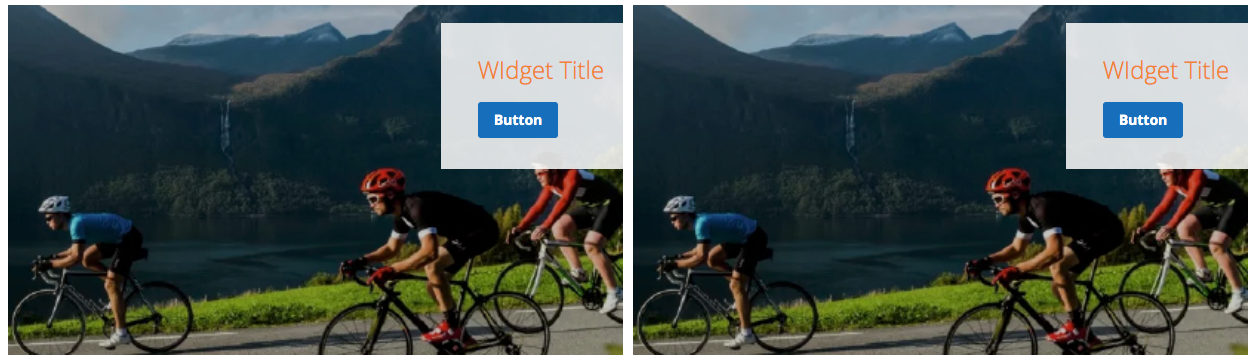
There are four different types of Rixxo Dynamic Banner each has a different number of columns:
- Rixxo Dynamic Banner 1 col Fullwidth
- Rixxo Dynamic Banner 2 col
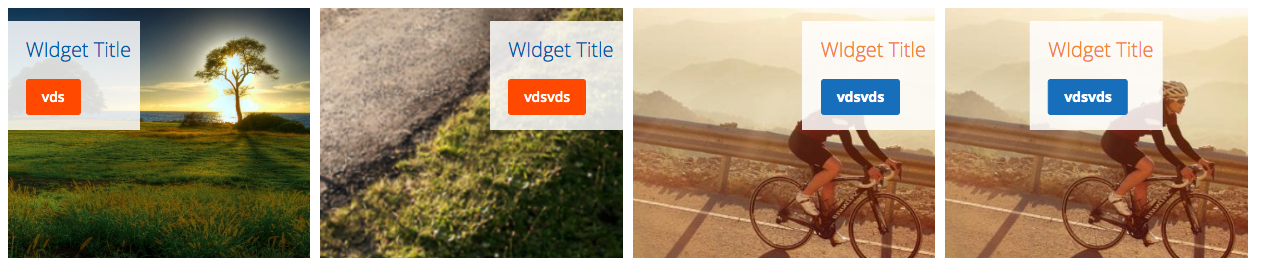
- Rixxo Dynamic Banner 3 col
- Rixxo Dynamic Banner 4 col
All types of Rixxo Dynamic Banners wrap to one column on mobile.


How to Add the Widgets
The widget can be added to CMS pages or to any other other dynamically generated page (categories, products, pages, etc).
Add to a CMS Page
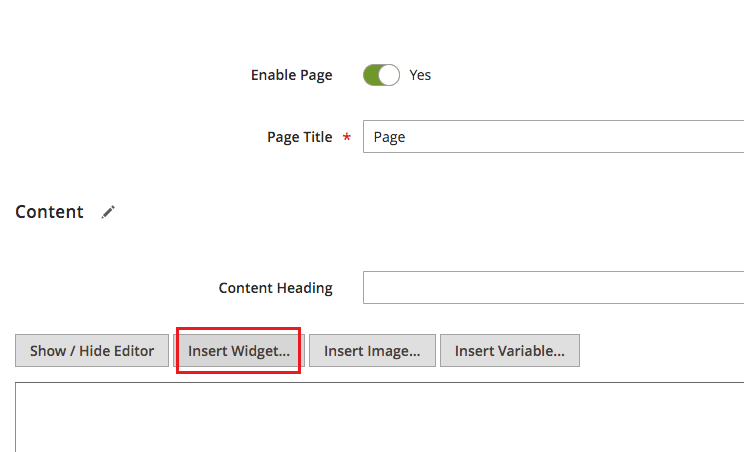
- Create or a edit a CMS Page
- Click on Insert Widget
- Choose one of the four types of Rixxo Dynamic Banner

- Fill in the widget fields.
- Click on Insert Widget
Add to a Dynamic Page
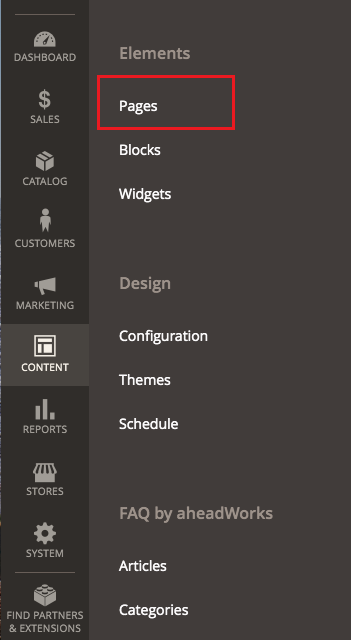
- Click on Content → Widgets

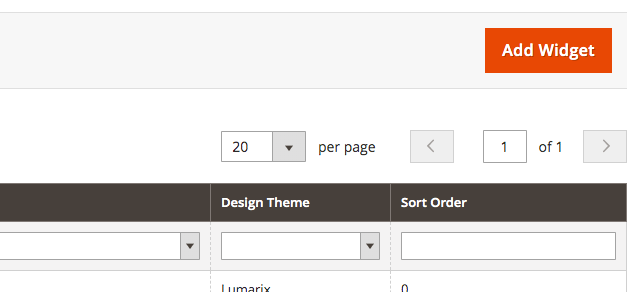
- Click on Add Widget
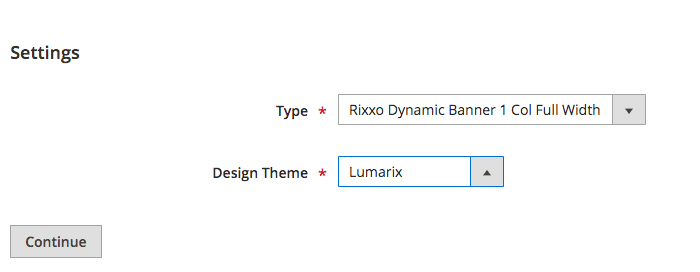
- Choose one of the four Rixxo Dynamic Banners from the Type menu and choose Lumarix from the Design Theme.
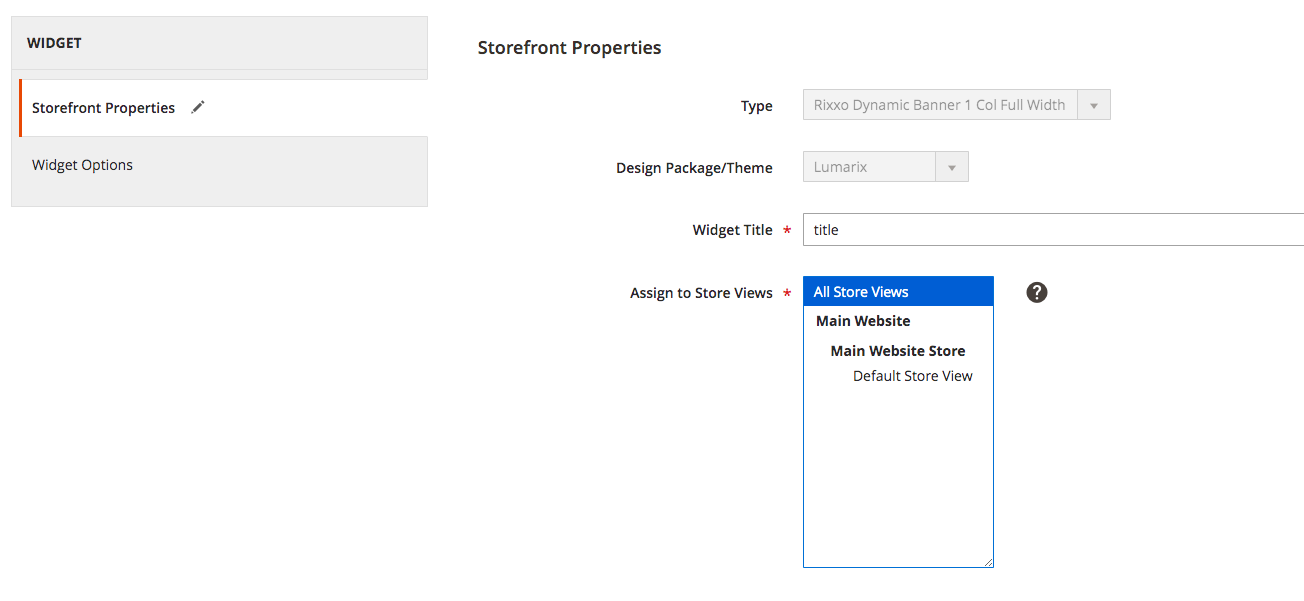
- Give the Widget a Title and assign it to a store.
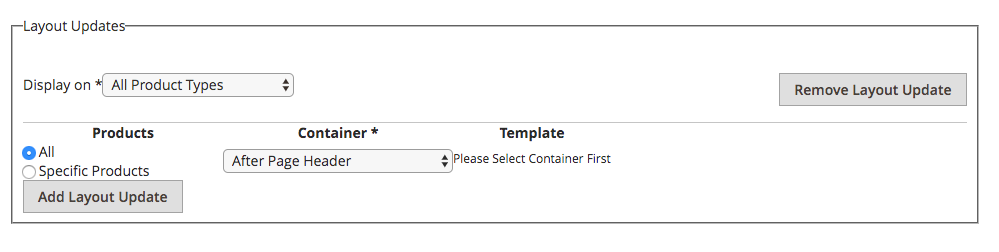
- Choose where to show the banner by clicking on Add Layout Update. You can add the widget to specific product types, specific products, categories, etc.
- Choose a Container (Where on the page to display the widget)
- Click on WIdget Options and fill in the widget fields
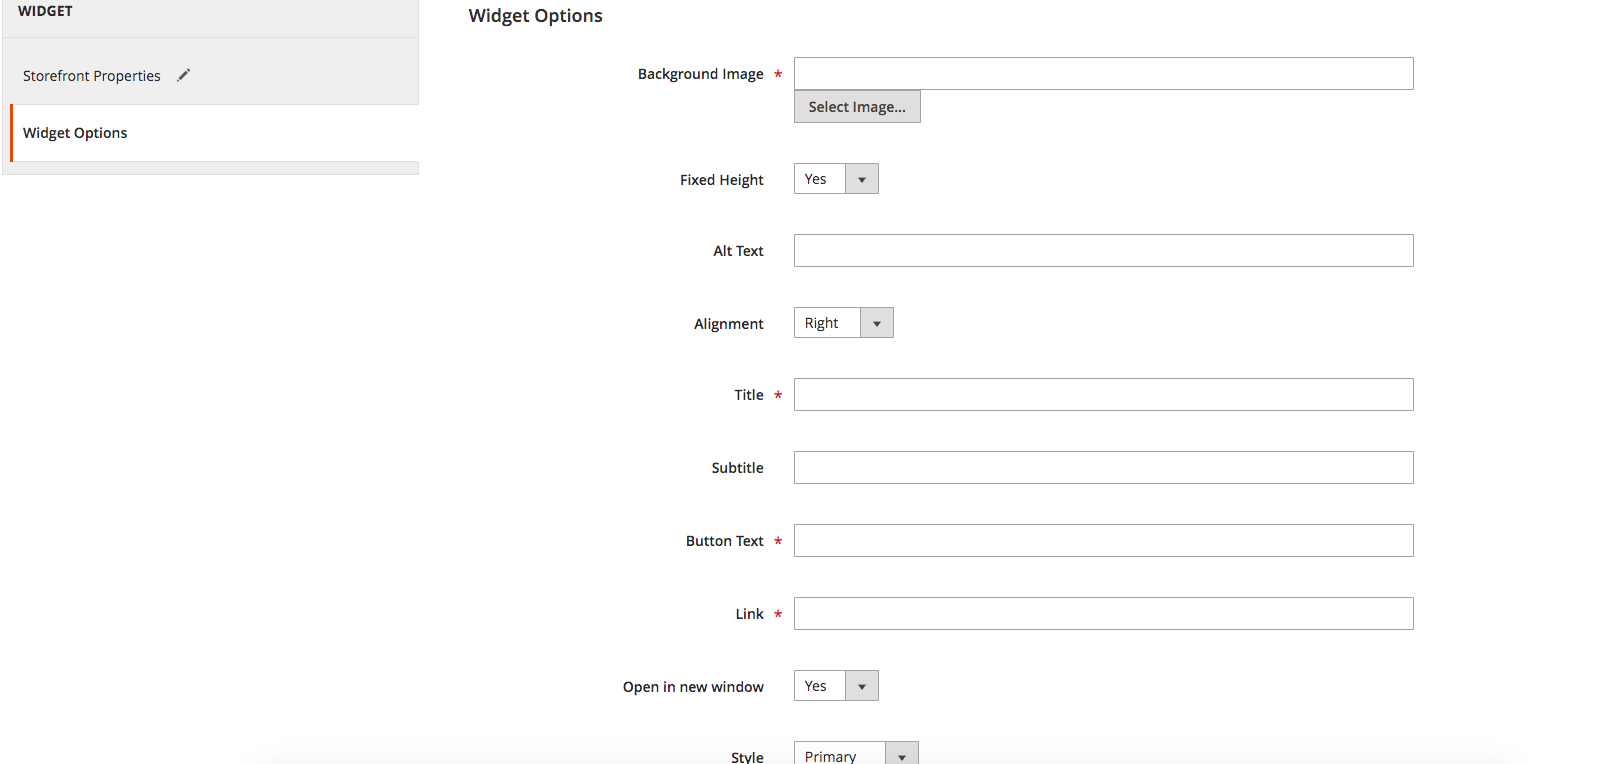
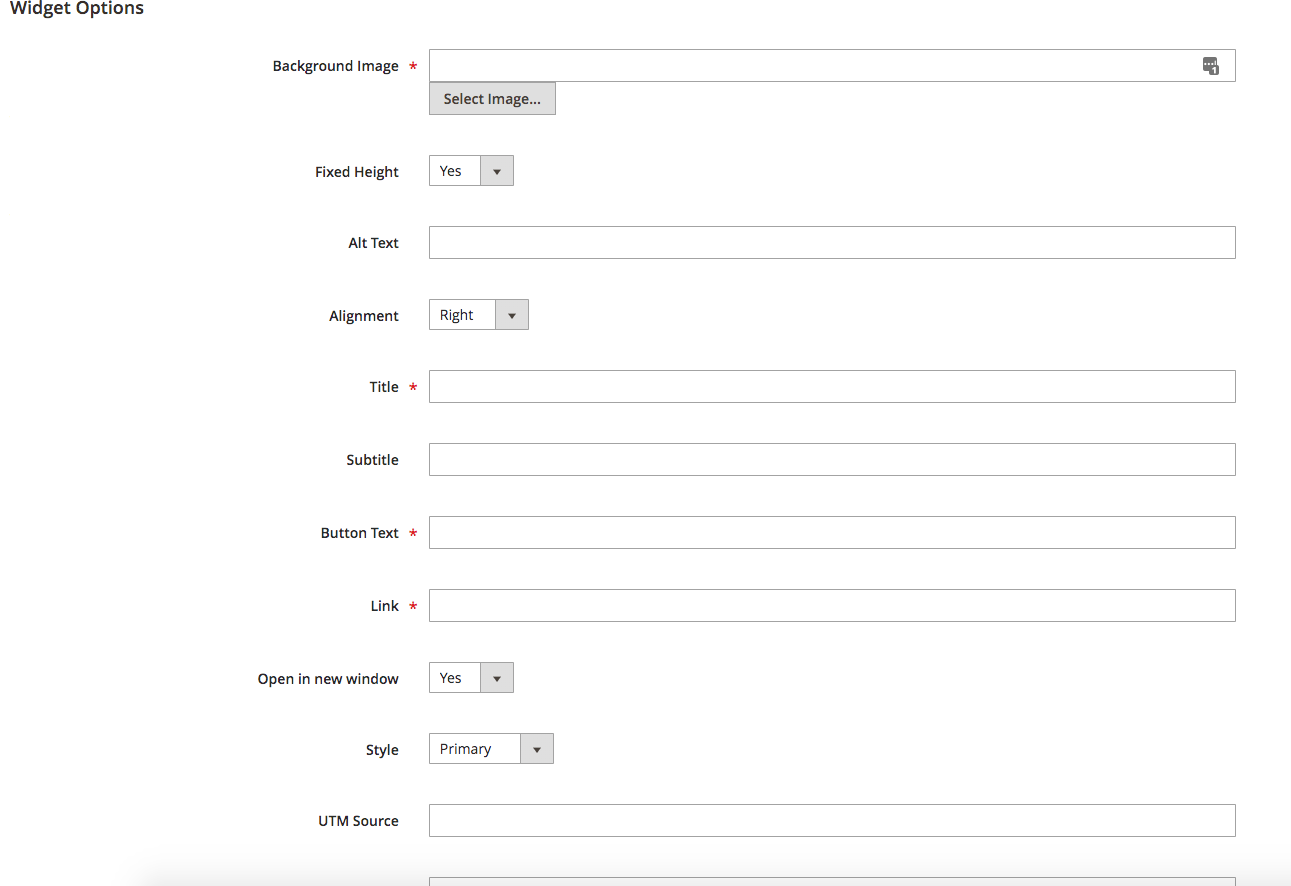
Widget Options
- Background Image (you can select an image from the ones available on the website or upload a new one).
- Fixed Height: When this option is enabled, the widget will have a fixed height and the images will get resized and cropped to fit the space.
- Alt text. Add an alternative text to the image.
- Alignment: You can choose to align the text and button to left, right or center.
- Title: Add a title to be displayed on the banner.
- Subtitle.
- Button Text: you can choose any text for the button.
- Link.
- Open in new window: you can choose if you want to the link to open in the same page or in a new page.
- Style: You can choose from three styles each has a different color for the button and the text section.
- UTM source, Medium and Campaign. Add campaign parameters to your campaign to help with analytics.
- Add ID / Class. You can add an ID and/or a class to the HTML so that it can be easily targeted by CSS or JS.
, multiple selections available,